Home > Resource > News > How to install HD Deep Well Borehole Camera V13-BCS?
How to install HD Deep Well Borehole Camera V13-U45MR2?
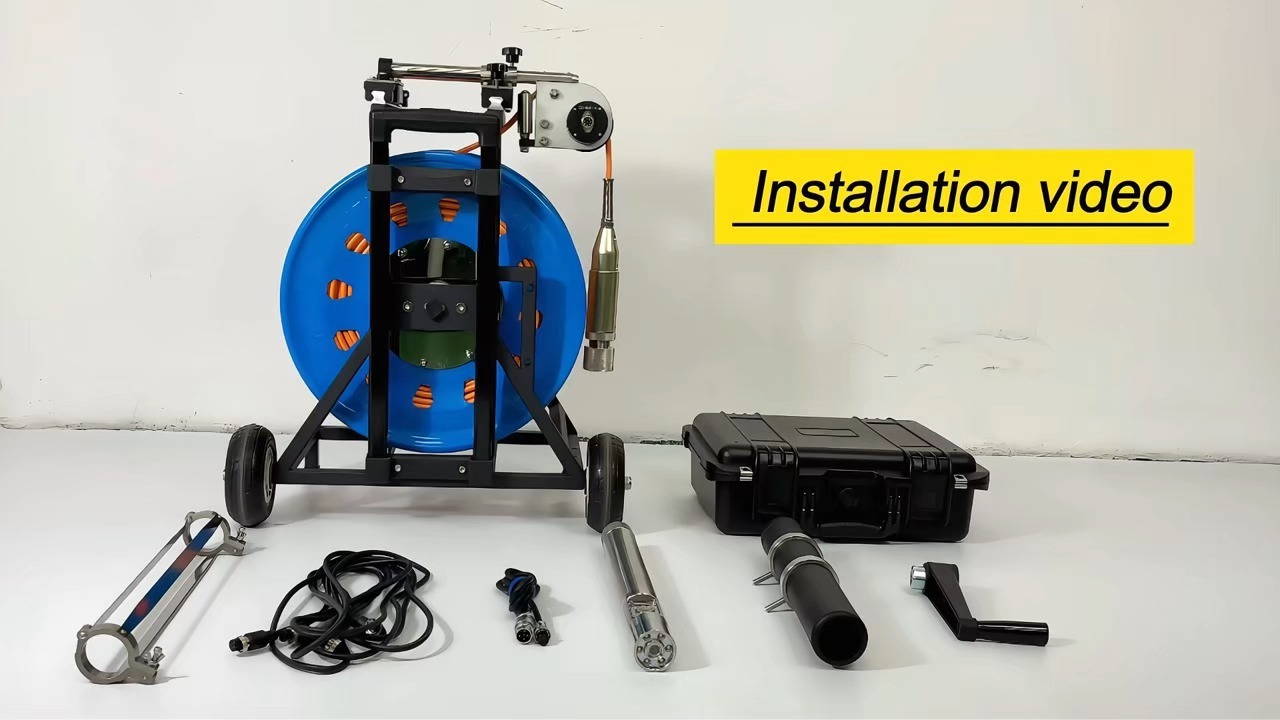
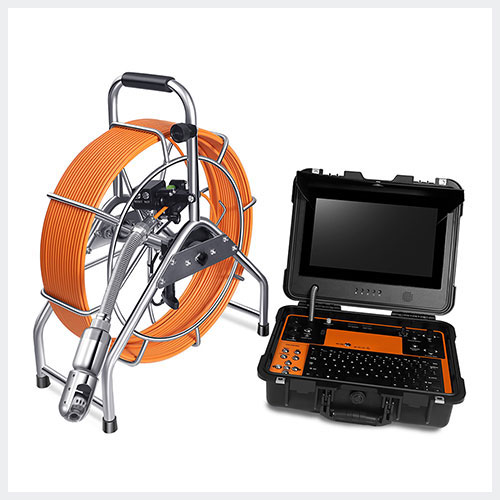
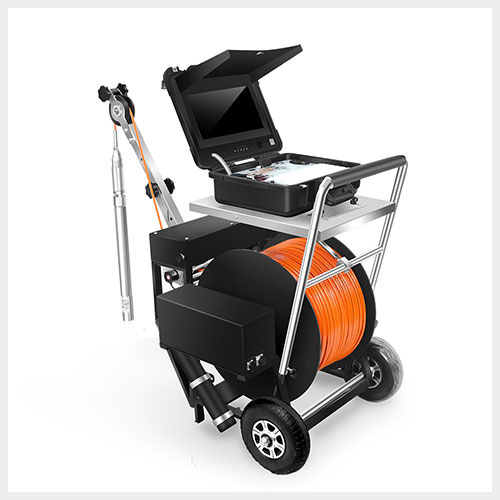
Welcome to the installation video for the V13-U45MR2 200m HD Borehole Camera with manual reel.This video will guide you through the setup process, ensuring you can efficiently and effectively use your new inspection tool.
- Unboxing:
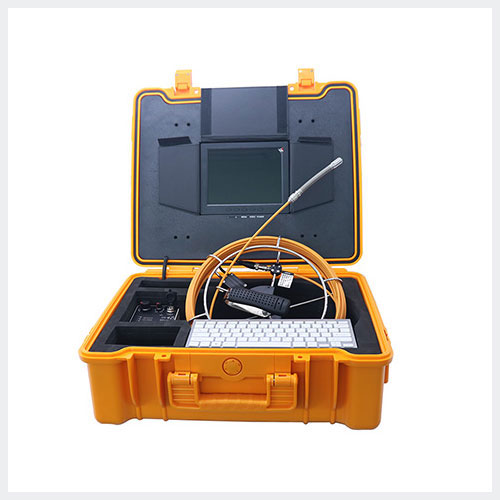
- Begin by carefully unpacking the V13-U45MR2 and its components. Ensure you have the camera, control unit, display, and any accessories included in the package.
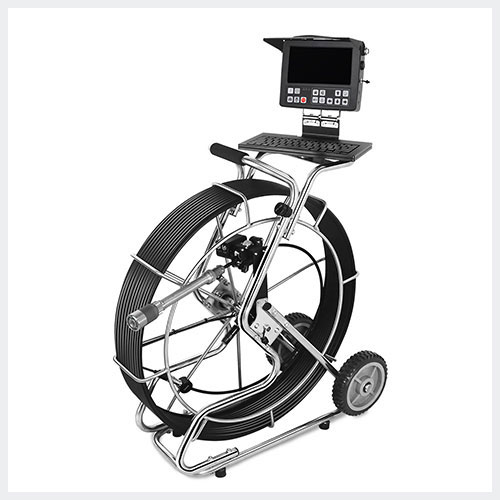
- Install the camera storage box to the cable reel
- Install manual reel handle
- Install cable to cable reel and connect 45mm dual view camera head
- Connect link cables:
- 1pc meter counter link cable, 1pc signal link cable, two cables are labeled with different signs. Straight connection to the control box, elbow connection to the cable reel.
- Wireless Keyboard:
- Take out the USB adaptor from the back of the keyboard, insert it into the “Keyboard” port of the control box, load 2 pcs #7 batteries.
- If you can’t typewrite the words,please press F8, the cursor is displayed.
- F8: Display the words F9: Hiden the words F10: Clear all words
- Press the “Power On” button to turn on the system
- Testing the System:
- Before beginning inspections, power on the system and test the camera’s pan and tilt functions using the control interface. Verify that the image is clear on the display.
- Recording the video
- Insert the factory-configured USB flash drive into the “USB” port.
- Ready for Use:
- Once everything is set up and tested, your V13-U45MR2 is ready for use. Review safety precautions and best practices for inspecting deep wells.
Thank you for watching the installation video for the V13-U45MR2 HD Borehole Camera. If you have any questions or require further assistance, please refer to the user manual or contact our support team.